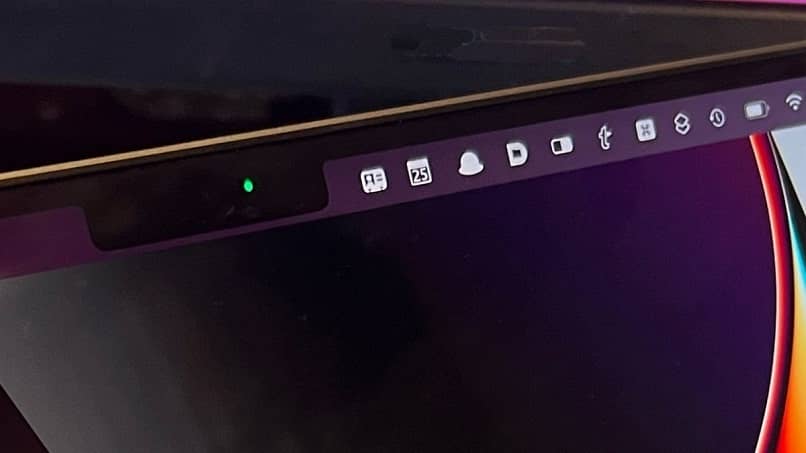
Your Mac’s camera comes with an app that lets you Make it easy for you to take pictures. In addition, it gives you the option to add interesting special effects. In this article, we’ll focus on teaching you how to take pictures with your Mac’s webcam.

How to take photos from camera on Mac?
Just follow the simple instructions below and you can take pictures from your Mac’s webcam. The biggest advantage is that you don’t need to download any extra apps.
Use a photo booth
- First, you need to access the Applications folder on your Mac.
- Select the Photo Booth option.
- When viewing an app, tap the red camera icon button at the bottom of the app.
- Wait for the countdown.
- Press the photo as many times as you want.
- To save, share, or export a photo, click the thumbnail that appears.
To save the photo to your Mac, click the menu Files in the Photo Booth application and place them as images elsewhere in the system. This application also allows you to change your Mac’s wallpaper or desktop using the export option.
Using the «Share» option, you can send them to any social network or emailto be able to add the message you want.
If you don’t have Photo Booth, there are plenty of options. Pages that offer it for free include Softonic, PortalProgramas, and Softradar.
Online with Pixect
Pixect is an application that allows you to easily take photos and videos online and add effects directly from your server.
This app can be downloaded for free from Chrome Web Store. You just take a picture, accept the requested permission and enjoy the different effects provided by the app.
with custom frame
Your Mac gives you many options for adding effects to your photos.One of them is custom frame. To do this, you can install an application like Photoscape, which is recommended for those who are just starting out with photo editing tasks. This app is easy to use to customize the frame for your work, family photos or your first project.
Another app recommended for your Mac is Pixelmator, an option for more demanding professionals that you can use to customize your frames in amazing ways.
Using iSight
The iSight application is a very useful application because it gives us all the control over our Mac webcam. You can Freely move slides in real time. Also, it doesn’t add any kind of filter after taking a photo or video.
How to retouch photos with WidsMob Portrait Pro on Mac?
WidsMob Portrait is a freely available program that Allows you to edit photos in a very professional way on your Mac. With it, you will be able to remove wrinkles, adjust and soften the features of people in your photos. You can also adjust color, brightness and skin tone. Likewise, you will be able to adjust the brightness of the photo when it does not meet the desired quality.
This program allows you to Remove blemishes and very dark shadows Just one click. After exporting the photo, the app allows you to edit the eyes, cheeks and teeth individually, and even the entire skin. This is easily accomplished by using sliders, which you can use to adjust the size of the eyes, the width of the mouth, or the shape of the face.

What is the default webcam resolution on a Mac?
The default resolution for the 27-inch iMac and 24-inch iMac M1 is in the 1080p range, depending on the version of the Mac.
To check the resolution of your personal Mac, right to use «System Preferences», and then click Displays. Ali will come up with a list of resolutions. The most common are 1280p x 2024p for standard and 1280p x 800p for panoramas.
How to improve camera image quality on Mac?
If you feel that the quality of the webcam image is not what you need, you should first troubleshoot possible software glitches.To do this, you must visit your Mac’s Settings Folder and Check brightness, contrast and color calibration is enough.
There is also the possibility of external factors. Make sure the room where you are shooting the video or photo is well lit.
With all these factors in mind, you can also download a program that you can use Adjust your camera resolution. For example, iGlass from Ecamm, a great webcam for your Mac, you can choose to try for free.
You should keep in mind that when you choose to add these programs to your Mac, the storage space you’re using may be affected.This is why it is necessary Try some options to free up space Thereby increasing it for important data storage, thereby increasing the performance of your Mac.
In this way, we recommend that you visit the Apple menu on your Mac to see how much space is available for storage.Press «Manage» and you will get some suggestions like Cloud saving, reducing clutter and optimizing storage.
You should also consider that your Mac’s home screen is often full of icons, making it hard to see the most important shortcuts. You can then hide your Mac or Macbook’s Dock at your discretion. To do this, you must follow these steps:
- Access the System Preferences option and you will find the Dock screen.
- You will find the «Auto Hide» option.
- Click the «Auto Hide» option and the Dock will disappear. You can view it just by pointing with the pointer on the bottom of your Mac.

