
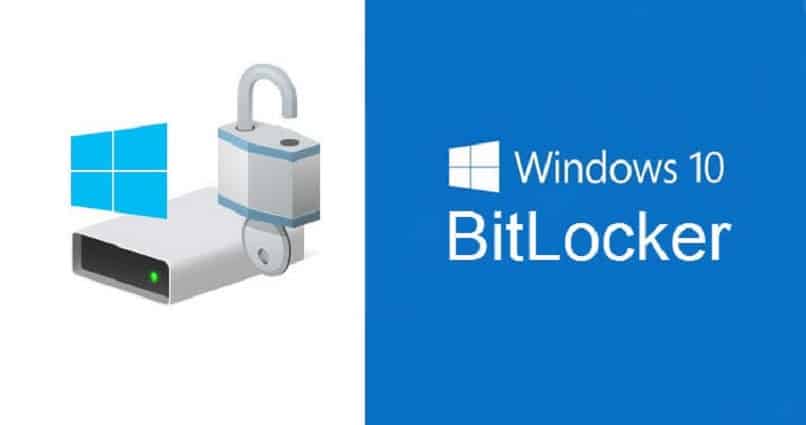
BitLocker is a Windows 10 feature that Designed to encrypt drives, to protect your content from unknown or unauthorized users. This encryption is important when devices store highly sensitive or valuable data.
Even if you don’t consider this, you are constantly exposed to cyber and insider threats, and BitLocker has demonstrated a high level of protection.However, they recently discovered Operation fails on SSD diskif this is your situation, we will teach you how to fix it.

How to check BitLocker status in Windows 10?
Of course, the reason you decide to protect your drive with BitLocker is not the same as High security against information theft. This is usually a good solution in most cases, so it’s still a good security decision if you’re comfortable with hardware characteristics, know and understand how to activate BitLocker in Windows.
Now, in the face of SSD or solid state drive failure, Microsoft itself recommends Disable hardware encryption Then modify to software encryption so that we block access when the encryption password is disabled.
If you think you are one of the users who needs to implement this configuration, the first step is to test the theory. Check current encryption BitLocker, this is done by:
- Type «CMD» in the search section of the start menu, right-click and run as administrator in the Command Prompt option that appears.
- type now «admin -bde.exe -status» Then press enter.
- Terminal will return a Comprehensive evaluation of BitLocker, from version, media encryption percentage, method used, protection and lock status, auto-unlock options, and more.
What are the different ways to disable BitLocker encryption?
If after encrypting the USB or hard drive with BitLocker and performing the status check just described, Did you find the bug? In terms of security, the next step is to continue deactivating encryption, for this you can use several methods, now we will explain them in detail.
Using PowerShell
The PowerShell console interface, via the command line, allows Manage various BitLocker tools Just simple steps, from setting and removing USB access passwords to disabling BitLocker itself. In this case, that’s exactly what we’re going to use it for today, like this:

- The first thing to do is to access the PowerShell console as an administrator, go to the search section of the start menu, type «PowerShell» in the options that appear, right-click and select «Run as administrator».
- You will see a new terminal window where you will enter this statement»enable -BitLocker -HardwareEncryption:$Falseimmediately press Enter. BitLocker will be deactivated on your Windows 10 computer.
from group policy
The Enterprise, Pro, and Studio editions of Windows 10 give you direct access to the Group Policy Editor (gpedit.msc).This is a very lucrative opportunity in a corporate environment because in a more precise way you can Configuration changes operating system.
If your computer is not the latest generation, but you managed to access «gpedit.msc» to enable and use Bitlocker protection without TPM, or it may be a corporate shared device, you may already know that through the same editor, it is possible Disable BitLocker encryptionperform the following steps:
- Press the «WIN + R» keys at the same time, which will quickly open the «Run» window.
- Time to type «gpedit.msc» to open the Group Policy Editor.
- A new window will appear with a number of folders located at Computer Configuration > Administrative Templates > Windows Components > BitLocker Drive Encryption > Operating System Drives.
- Now, find the policy called «Configure the use of hardware-based encryption for operating system drives» in the central panel and double-click to open it.
- The edit window will appear where you must check the Disabled option, apply and accept to update the changes, so BitLocker protection is disabled in Windows 10.
in the registry editor
If you don’t have a professional Windows 10, then you can choose to use the registry editor integrated in all editions to Remove BitLocker encryption in the same simple way. To modify this parameter, the first thing to do is:

- Launch the following command «Regedit» in the run window.
- You will get a new window with a set of locations, make sure you follow the path very precisely, HKEY_LOCAL_MACHINE > SOFTWARE > Policies > Microsoft > FVE.
- If you can’t find the last «FVE» folder, you created it yourself, in this case right-click on «Microsoft», select the «New» option, then «Key», done, name the file «FVE» .
- Now hover over the newly created key and right click on the empty space, select «New / DWORD (32-bit) Value» and name it «OSAllowedHardwareEncryptionAlgorithms»
- Immediately double-click the value to open the editing window, enter the number «0» in «Value Information», and click «OK». You will have a Bitlocker encryption overlay ready on the SSD.